

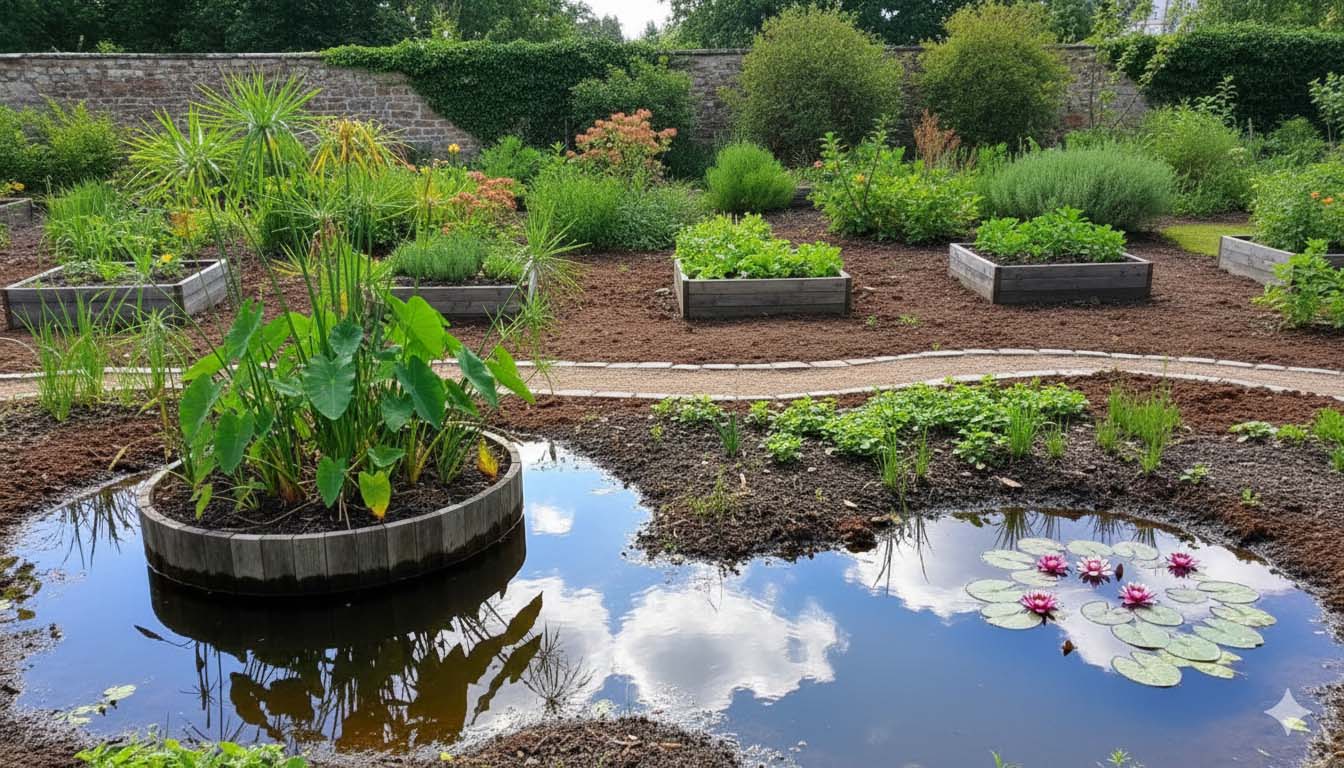
With the heavy rains we have been receiving, waterlogging becomes an increasing problem for gardeners everywhere.
Whether it’s the result of freak weather conditions or just generally wetter seasons, this is a problem many of us face. Here’s how to evaluate the severity of the problem in your garden, along with some worthwhile solutions to help you improve soil drainage.
What is waterlogging?
The most obvious indication that you have a problem with soil drainage is, of course, puddles of standing water on your lawn, beds or borders. Plants may fail to thrive, or you may also notice plants wilting and showing yellowing on the leaves. If you dig them up and discover they have black, smelly roots – that’s rot. Bulbs and tubers may have completely rotted away. This is waterlogging at its very worst, but there are other more subtle signs – perhaps your garden just isn’t thriving the way it used to.
- If that’s the case, perform this simple test to see how well your soil is draining:
- Dig a small hole, about 15cm across and 30cm deep
- Use a watering can to fill the hole with water
- Leave the water to drain away until the hole is empty
- Refill the hole with water
If it takes longer than 4 hours for this second filling to disappear, it’s likely you have a drainage issue
It may be that even though your soil isn’t sodden to the touch, it’s still too wet. This harms the quality – it stops worms from doing their job of processing organic matter into the soil and can leave the ground damp, compacted and infertile.
Sometimes, repeated downpours leach minerals deeper into the soil where they crystallise, forming an impenetrable layer. Known as panning, this locks the waterlogging into your soil’s structure. Luckily, there are solutions.
How to deal with compacted soil
If your soil is sodden and compacted, you might need to dig below the hard pan of crystallised minerals to improve drainage.
To find out where this is, you just need a spade and an empty biro tube (no ink required!)
- The biro test:
- First dig a small hole of about a spade’s depth
- Take your biro tube and starting just below the rim of the hole, push it into the side
- If the pen goes in fairly easily, then all is well
- Keep going down the side of the hole
When you reach a level where the biro won’t go in, then you have found the pan, i.e. compacted soil which will restrict growth and drainage
Break this up by digging the soil to just below this level
Once you’ve penetrated the hardened layer which stops water from draining freely, it’s important to stop the same problem recurring. To do this, you must work to improve the soil structure – how you approach the task very much depends on what kind of soil you’re gardening.
What soil type do I have?
Soils fall into three main categories – sandy, clay and loam. Sandy soils, as the name suggests, contain an abundance of sand. These soils drain rapidly, but also dry out very quickly and tend to be nutrient poor. At the other end of the spectrum, clay soils contain lots of sediment and hardly any sand. These soils are generally fertile but, because they don’t drain very well, are very prone to waterlogging. The ideal soil is loam – a well-balanced mixture of clay and sand which is free-draining and yet holds plenty of moisture and nutrients.
Of course, there are lots of other soil types, depending on your local climate and the underlying geology of the area, but to gain some understanding of the soil in your garden or allotment, here’s a simple squeeze test.
The squeeze test:
- Take a handful of garden soil and add a little water so that it’s moist but not over-wet. Close your hand and give the soil a firm squeeze. Open your hand and assess the soil as follows:
- If it holds its shape but crumbles when you poke it, you have loam soil
- If it holds its shape, even when poked, you have clay soil
- If it collapses in a heap as soon as you open your hand, then you have sandy soil
How to improve the different soil types
The technique you use for building good drainage into your soil varies depending on whether your soil is predominantly of the sandy or clay type.
Clay soil – The good news is that clay soil is often well-supplied with nutrients, however, it tends to be cold (so not suitable for early crops) and also becomes waterlogged in wet weather and cracks in dry weather. To improve clay soil, wait until the surface has started to dry out and then dig deep. Break up the clumps with the back of the fork and apply a dressing of lime. Then dig again.
Sandy soil – The soil with the ‘least backache but the most heartache,’ sandy soil is free draining and easy to work, but the downside is that it’s usually short on nutrients. The answer is to add plenty of humus-making material. A ‘sticky’ type like well-rotted cow or pig manure is best. Green manures – a range of seeds sown specifically to improve the condition and/or fertility of the soil – are also a great idea.
Chalky soil – Liked by a large number of rockery-type plants, this soil can be sticky and soft and is too alkaline for many plants. Keep the digging shallow and add fertilisers and compost or well-rotted manure. Green manures are very beneficial to chalky soil.
Loam – Lucky you. This is just about the best soil and will need little attention however will still benefit from some green manure. *Additional information sourced from hub.suttons.co.uk

















Leave a comment