

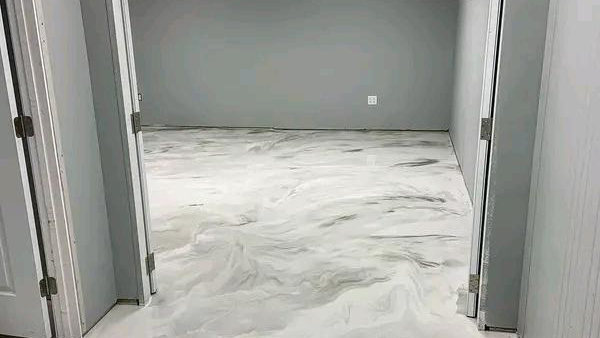
Gone are the days when plain tiles and wooden surfaces were the only options for a stylish, durable finish.
Today, epoxy is fast becoming the go-to solution for homeowners and businesses looking to upgrade their spaces with a sleek, versatile and long-lasting touch.
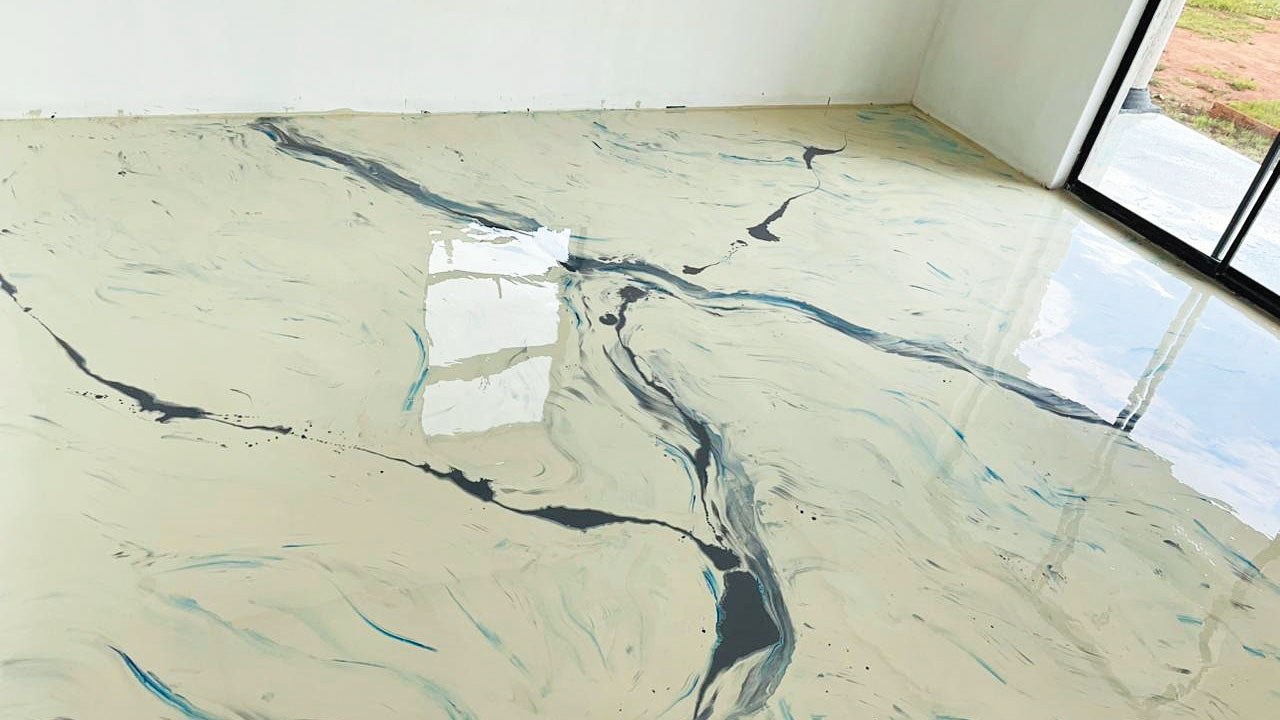
From glossy floors that withstand heavy foot traffic to statement countertops and custom furniture pieces, epoxy offers a perfect blend of beauty and resilience.
Senzo Bulunga, Director of Epoxy Eswatini and Roof Tech, takes us behind the scenes–unpacking the many benefits of epoxy and shedding light on how spaces are professionally prepped to ensure flawless, lasting installations. Whether you’re renovating a warehouse, a school or your dream kitchen, epoxy might just be the game-changer you’ve been waiting for.
Preparing your space for epoxy installation: a step-by-step guide
Epoxy flooring offers a durable, stylish and low-maintenance solution–but proper surface preparation is essential to ensure the best results.
Whether you’re upgrading a commercial warehouse, garage or showroom, following the right steps will ensure a smooth, long-lasting finish.
Step 1: Clear the area
Why it matters: Any obstacles can interfere with prep work or epoxy application.
Remove all furniture, equipment or storage items.
Sweep or vacuum to eliminate dust and debris.
Protect adjacent areas (walls, baseboards) with plastic sheeting or painter’s tape.
Step 2: Repair major cracks or holes
Why it matters: Uneven surfaces or damaged concrete can cause epoxy to fail prematurely.
Fill cracks or divots with a suitable patching compound.
Allow repairs to cure completely before proceeding.
For large imperfections, grinding may be required.
Step 3: Ensure proper surface profile
Why it matters: Epoxy needs a rough surface to adhere properly.
Mechanical grinding is the most common method to open the concrete’s pores.
Acid etching may be used for smaller residential areas, but professional installers often prefer mechanical methods.
Check for contaminants like oil, grease or sealers–they must be removed first.
Step 4: Moisture testing
Why it matters: Moisture trapped under epoxy can cause bubbling, peeling or discoloration.
Use a calcium chloride or RH test to check moisture levels.
If the slab is too damp, consider installing a moisture barrier or using a breathable epoxy system.
Step 5: Confirm surface cleanliness
Why it matters: Dust, oils and residues weaken epoxy bonding.
Use a vacuum and a microfiber mop to remove fine dust.
Wipe the surface with a solvent like acetone or denatured alcohol if needed.
Avoid cleaners that leave behind residue (like soap-based solutions).
Step 6: Environmental controls
Why it matters: Epoxy is sensitive to temperature and humidity.
Make sure the space is within the manufacturer’s recommended temperature and humidity range (typically 15°C–30°C).
Ensure good ventilation if working indoors.
Turn off HVAC systems if they may blow dust during installation.
Step 7: Final inspection with your installer
Why it matters: A walk-through ensures all prep is done and expectations are clear.
Review the site with your installer or project manager.
Clarify traffic restrictions and cure time expectations.
Always make sure to confirm the installation schedule.
Get in touch with Eswatini Epoxy today at 7698 2185 or 7998 2185 for a quote.




















Leave a comment